
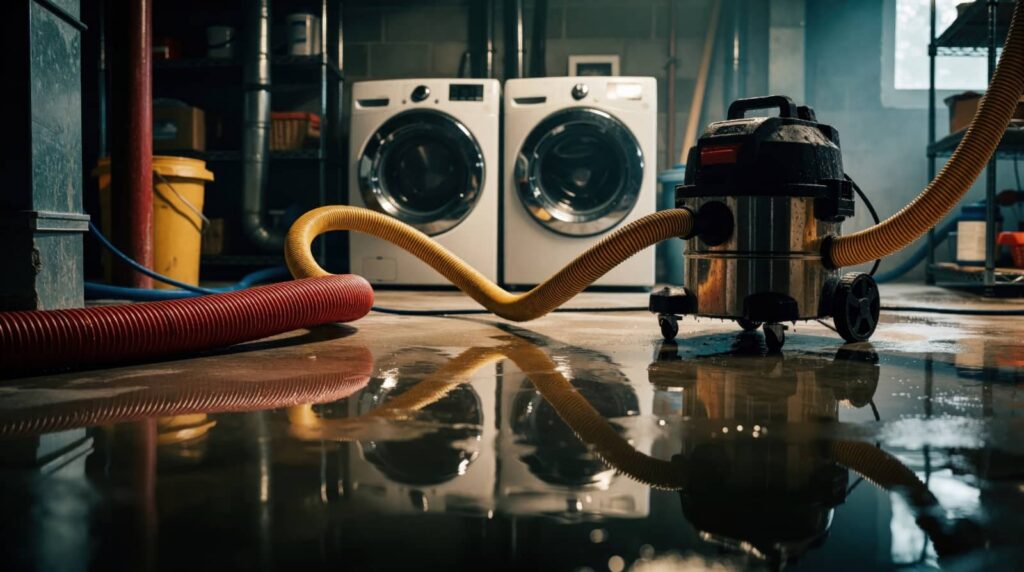
When floodwater leaves a scene like a slow-moving clue, you need to act fast. Start structural drying right away, extract standing water, then place air movers and dehumidifiers to control moisture. Dry walls, floors, and framing fully, and check behind trim and inside cavities for hidden dampness. If you skip those steps, repairs can fail before they begin.
Key Takeaways
- Start drying immediately with dehumidifiers and air movers to reduce secondary damage and mold growth.
- Remove standing water quickly using pumps, wet vacs, or extraction equipment.
- Open wall cavities and lift wet materials to improve airflow and speed drying.
- Place air movers to push dry air across wet surfaces and into hidden spaces.
- Check moisture readings in walls, floors, and trim before beginning repairs.
Start Drying the Structure Immediately
As soon as it’s safe to enter, you should start drying the structure right away to limit secondary damage and mold growth.
Open wall cavities, lift wet materials, and expose hidden spaces so air can move through the structure. Use moisture detection tools to map wet areas, then prioritize the most saturated framing, subfloors, and insulation.
Run dehumidifiers and air movers continuously, and keep indoor humidity low. You’ll reduce swelling, warping, and microbial risk when you act fast and track progress daily.
Document moisture readings so you can verify drying and adjust equipment placement.
Good flood prevention habits start here: fast response, accurate monitoring, and disciplined follow-through help your team protect the building and restore a safer, healthier space for everyone involved.
Remove Standing Water and Excess Moisture
Once you’ve opened hidden cavities and started air movement, remove any pooled water and lingering surface moisture right away.
Use water extraction equipment, wet vacs, or pumps to clear floors, subfloors, and low spots before water migrates deeper into materials. Wipe baseboards, framing, and hard surfaces with clean towels so they don’t stay damp.
During moisture assessment, check corners, joints, and behind trim for hidden wetness, since small pockets can slow drying and invite damage. You’re not just cleaning up; you’re helping your crew stay ahead of structural loss.
Keep moving systematically from the wettest areas to the drier ones, and empty collection containers often. Quick removal lowers the load on the structure and gives your team a stronger starting point for the next phase.
Set Up Air Movers and Dehumidifiers
Position air movers to push dry air across wet surfaces and into open cavities, keeping them spaced so each unit covers a specific drying zone without short-cycling.
You’ll get better results when you match air mover placement to room size, airflow paths, and hidden voids. Set dehumidifier settings to maintain steady moisture removal, and keep doors or barrier openings arranged to support circulation.
- Aim airflow at the base of damp materials
- Avoid blowing directly into one spot
- Keep cords clear and safe
- Check humidity and adjust dehumidifier settings
- Reposition units as readings change
When you work this way, you and your team build a controlled drying environment that moves faster and wastes less energy.
Dry Walls, Floors, and Framing Thoroughly
After you’ve set the airflow, focus on drying the walls, floors, and framing all the way through, not just the surface. Remove baseboards if needed, expose wet cavities, and keep air moving across each layer.
Use moisture detection to compare damp sections with dry reference areas, so you know where drying still lags. For drywall, pull back insulation only when it traps water, then apply drying techniques that match the material: steady dehumidification, targeted airflow, and warm, low-humidity conditions.
On subfloors and framing, protect edges and joints, where water lingers longest. Check for cool spots, swelling, or softening as you work.
Stay consistent and patient; thorough drying now helps your team avoid delays and keeps the structure ready for the next step.
Check for Hidden Moisture Before Repairs
Before you start repairs, check for hidden moisture in cavities, behind trim, under flooring, and inside insulation. Use moisture detection tools to verify every suspect area before you close walls or replace finishes.
If readings stay elevated, keep drying and trace hidden leaks around plumbing, windows, and penetrations. You’ll protect the structure and avoid callbacks.
- Probe baseboards and wall bottoms
- Compare wet and dry zone readings
- Inspect around supply lines and drains
- Lift flooring at seams and edges
- Document findings before rebuilding
When you confirm dry materials, you can move forward with confidence as part of a team that gets it right the first time.
Frequently Asked Questions
How Soon Should Insurance Be Contacted After Flood Damage?
You should contact insurance immediately after flood damage, ideally within hours. Your flood insurance claim starts faster when you report promptly, and a rapid damage assessment helps you protect coverage, document losses, and begin recovery.
Can Flood-Damaged Belongings Be Saved or Should They Be Discarded?
You can save some flood-damaged belongings, but you should discard porous, heavily contaminated items. Assess restoration options quickly; salvage sentimental items only if you can clean, dry, and disinfect them safely.
Is It Safe to Stay in the Home During Structural Drying?
Usually, you shouldn’t stay inside unless you’ve confirmed structural stability, humidity control, and safety precautions. You’ll need monitored equipment, clear exits, and clean air; if you’re unsure, leave until professionals say it’s safe.
What Should Be Done if Mold Appears During Drying?
If mold appears, you should stop drying affected areas, isolate the space, remove wet materials, and call a remediation pro immediately. You’ll need strict moisture control and mold prevention so your home stays safe together.
When Is Professional Flood Restoration Necessary?
You need professional flood restoration when water’s damage feels oddly widespread: hidden moisture, structural sag, sewage, or mold. A flood assessment helps you choose restoration methods fast, and you’ll protect your home with confidence.
Recap
When floodwater hits, you need to act fast. Start structural drying right away, remove standing water, and set up air movers and dehumidifiers to control moisture. Dry walls, floors, and framing until readings stay stable, and use detection tools to find hidden dampness before repairs begin. If you skip these steps, mold can move in like an unwelcome knight from a bygone age. Keep checking, keep drying, and don’t rebuild until the structure’s fully dry.