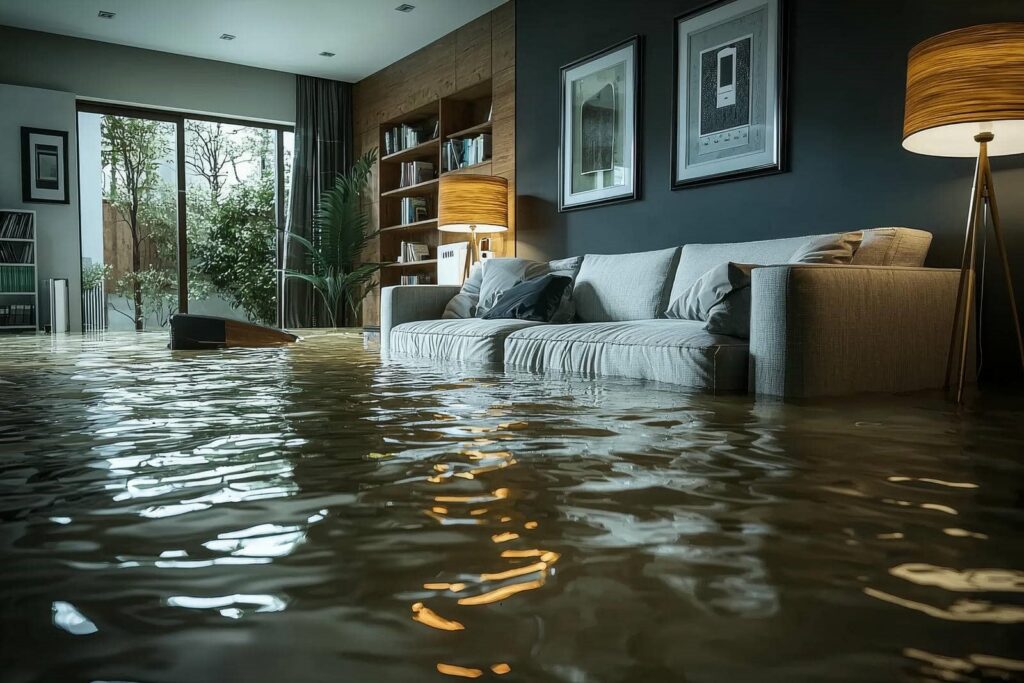
You probably don’t know that most water damage losses worsen in the first 24 hours, not just from standing water but from trapped moisture inside materials. You need to stop the source, secure the area, and remove bulk water fast, then use airflow and dehumidification to target hidden damp zones. The difference between structural drying and a costly repair often comes down to what you check next.
Key Takeaways
- Shut off the water source immediately, secure the area, and document the leak to prevent further damage and hazards.
- Remove standing water fast using pumps and wet vacs, starting in the deepest areas and checking for hidden pockets.
- Set up air movers and dehumidifiers to create crossflow and continuously remove moisture from the structure.
- Dry hidden cavities, walls, and floors by opening access points, removing wet insulation, and directing airflow into concealed spaces.
- Verify dryness with calibrated moisture readings and moisture mapping before starting repairs.
Stop the Water Source and Secure the Site
First, shut off the water at the main supply or isolate the affected line, then secure the site to prevent further intrusion and hazards. You’ll protect the structure by stopping the water source before damage spreads into framing, insulation, and finishes.
Verify the valve is fully closed, then tag it so no one reopens it by mistake. If the leak comes from plumbing, appliance supply, or roof entry, document the origin for your crew and insurer.
Next, focus on site security: restrict access, post warnings, and remove electrical risks near wet areas. Use PPE and maintain clear routes for safe movement.
Pump Out Standing Water Quickly
With the source shut off and the site secured, remove any standing water right away to limit wicking and secondary damage.
You should deploy emergency response equipment sized for the loss, such as submersible pumps, wet vacs, and hose runs that reach safe discharge points.
Use water extraction techniques in a systematic pattern, starting at the deepest area and working toward exits.
Keep electrical hazards isolated, monitor hidden pockets under insulation or debris, and empty recovery tanks before they overflow.
If water keeps returning, trace the source before continuing.
You’ll work faster and safer when your crew stays coordinated, assigns zones, and documents progress.
Quick extraction reduces material saturation, shortens the overall drying cycle, and keeps the structure on track for the next phase.
Dry the Structure With Fans and Dehumidifiers
Set up air movers and dehumidifiers as soon as bulk water is gone to pull moisture out of the structure before it migrates into framing, drywall, and finishes.
You’ll want to create steady crossflow with air circulation techniques that sweep humid air toward the dehumidifier intake.
Place units to avoid dead zones, and keep doors open when needed so you don’t trap damp air.
Choose moisture removal methods that match the space: refrigerant units work well in warm rooms, while low-grain systems help in cooler conditions.
Check temperature, relative humidity, and daily moisture loss, then adjust equipment if readings stall.
Team up with your crew, keep cords safe, and run the system continuously until the structure reaches dry standards.
Dry Walls, Floors, and Hidden Cavities
Now that the structure is moving air and losing surface moisture, you need to dry the wall cavities, floor assemblies, and other concealed spaces that still hold water.
Use moisture detection to find damp pockets behind trim, baseboards, and subfloors, then open access points only where airflow can reach.
Check insulation assessment so you can remove wet insulation that blocks drying and keeps framing wet.
Keep fans aimed through cavities and maintain dehumidification in the room.
- Pull wet carpet edge back and expose tack strip areas.
- Drill small vents at cavity low points for airflow.
- Remove saturated insulation from affected bays.
You’re not drying alone here; you’re building a clean, shared recovery zone where every hidden space gets attention and the structure can stabilize.
Measure Moisture Before Repairs
Before you repair anything, verify that the structure has actually dried by taking baseline moisture readings in the affected materials. Use a calibrated moisture meter to compare drywall, framing, subflooring, and insulation against unaffected areas.
Record every reading, then repeat checks at the same points to confirm drying progress. Your moisture assessment should include ambient humidity and surface temperature, because both affect readings and drying time.
Build a simple moisture mapping grid so you can spot lingering wet zones behind baseboards, under flooring, and inside wall cavities. If readings stay elevated, keep drying equipment running and delay repairs.
When values match your dry controls, you can move forward with confidence, protect your team, and avoid hidden failures later.
Frequently Asked Questions
How Do I Know if Mold Has Started After Water Damage?
You’ll know mold’s started if you notice musty odors, visible spots, or worsening allergies near damp materials. Check hidden water sources, and act fast; mold growth can begin within 24–48 hours after water damage.
Can I Stay in the Building During Emergency Drying?
You can stay only if building safety checks pass and health risks stay low. If you smell mold, see standing water, or need heavy equipment, leave. You’ll protect yourself, and your team can dry it faster.
Should I Turn off Electricity Before Drying Begins?
Yes, you should turn off electricity before drying begins if water reached outlets, wiring, or panels. You’ll reduce electricity risks and support safety precautions. If you’re unsure, call a licensed electrician before restarting equipment.
What Insurance Documents Should I Gather After Flooding?
Gather your flood insurance policy, photos of damage, repair estimates, receipts, and a dated inventory. You’ll speed the claims process, prove losses, and stay connected with your insurer while they review your file.
When Should I Call a Professional Structural Drying Company?
Call a professional structural drying company when water intrusion soaks walls, subfloors, or insulation, or you smell mold. Their emergency response and drying techniques limit damage, speed recovery, and help you protect your space.
Summary
By acting fast, you cut damage before it spreads. Stop the water source, secure the site, pump out standing water, and set fans and dehumidifiers to work. Dry walls, floors, and hidden cavities until moisture readings confirm the structure is stable. Treat the drying process like a race against rust and rot: every hour counts. When you measure carefully before repairs, you protect the building and keep restoration on track.